
*note that this is the "vms915 method" (aka Quik N' Easy Header) and is therefore not the only way to make a header*
The process is really quite simple. First, you need to pick the emptiest server that you can find, for two reasons. One, it will not make your computer laggy due to the amount of people on at the same time, two, in order to get a good image for the header with only you in it, you need nobody to be around.
1) Once you are online, pick the room that you wish to take the picture in. I recommend the following places for the following occasions/blog themes:
Jamaa Township (no seasonal decorations): Normal
Jamaa Township (seasonal/holiday-ical decorations): Per holiday (Valentine's Day, Halloween, etc.)
Sarepia Forest: Earthy, nature-y blog
Crystal Sands: Summer, Beach theme
Mt. Shiveer: Winter, cold/frost/chilly theme
Appondale: Wild theme, blogs with AJ animal facts
Lost Temple of Zios: Mysterious theme, Phantom theme
Coral Canyons: wild, dry theme
2) Pick the location inside the room:
Jamaa Township:
The middle
Mira's statue
Fountain in the lower Township
Sarepia Forest:
Campfire
Slide
On the tree platform
Crystal Sands:
Slides
Ocean/dock
Platform with water spout
Water pools
Mt. Shiveer
Hot pool
Ice slide
Campfire
Mountain peak
Appondale:
Mud pool
Tree top
Lost Temple of Zios:
Zios statue
River
Archway
Coral Canyons:
River
Bridge
3) Take a screenshot! You can use the Print Screen button on your keyboard (prtsc for short), or, on some computers, there is a special program called "Snipping Tool." The image should be large and rectangular.
4) Open up MS PowerPoint, or you can go to www.cooltext.com or some other text website. If you are using MS PP, insert WordArt. Make the title of your blog in whichever font/style you want. You can also make text boxes with things like your name or blog slogan. If you use the website, save the image, otherwise, just copy it. Make sure the background is transparent!
5) Open the picture you took for the background in MS Paint. Paste/insert the text box. Position it the way you want. You can add clip art (with transparent background), for decoration, but don't add too much.
6) Save the image.
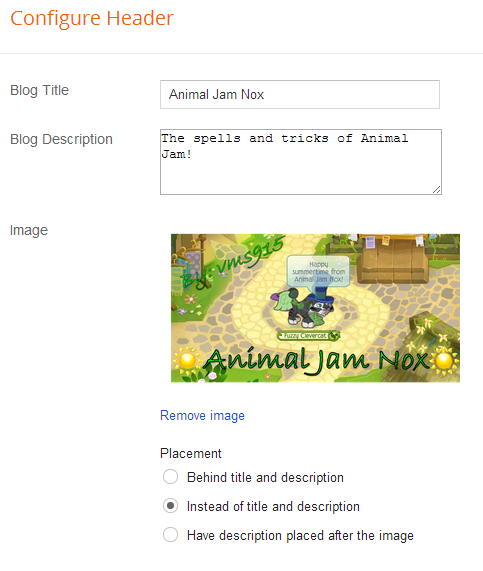
7) On blogger, go to Layout. Click on the "Edit Header."

~vms915, signing off!
thanks for the post it really helped :D
ReplyDeleteTHX :) I always get viewers on my blog from different countries!
ReplyDeleteVist my blog at: ajtestwebsite.blogspot.com